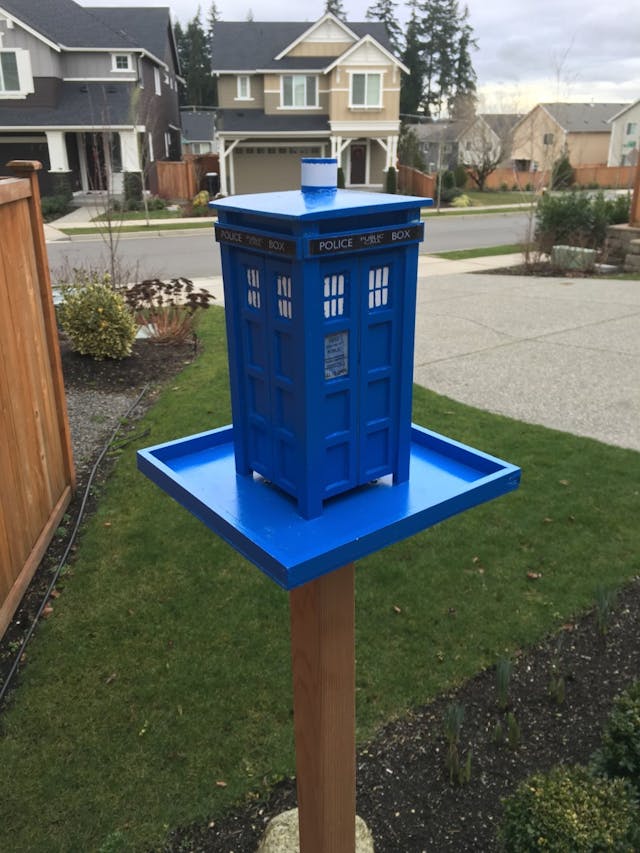
Doctor Who TARDIS Bird Feeder

Yes, you read that correctly. My wife loves Doctor Who and since she asked me back in early December if I could build her another bird feeder, I thought that I would build her something special – a TARDIS bird feeder.


I began with the plan for the original 1963 TARDIS design that I got from a now-defunct web site (fortunately I saved the plans - see below), and some guidelines from an Instructables post here. Unfortunately, the measurements on that post were all in millimeters and didn't seem to add up, so I derived my own.
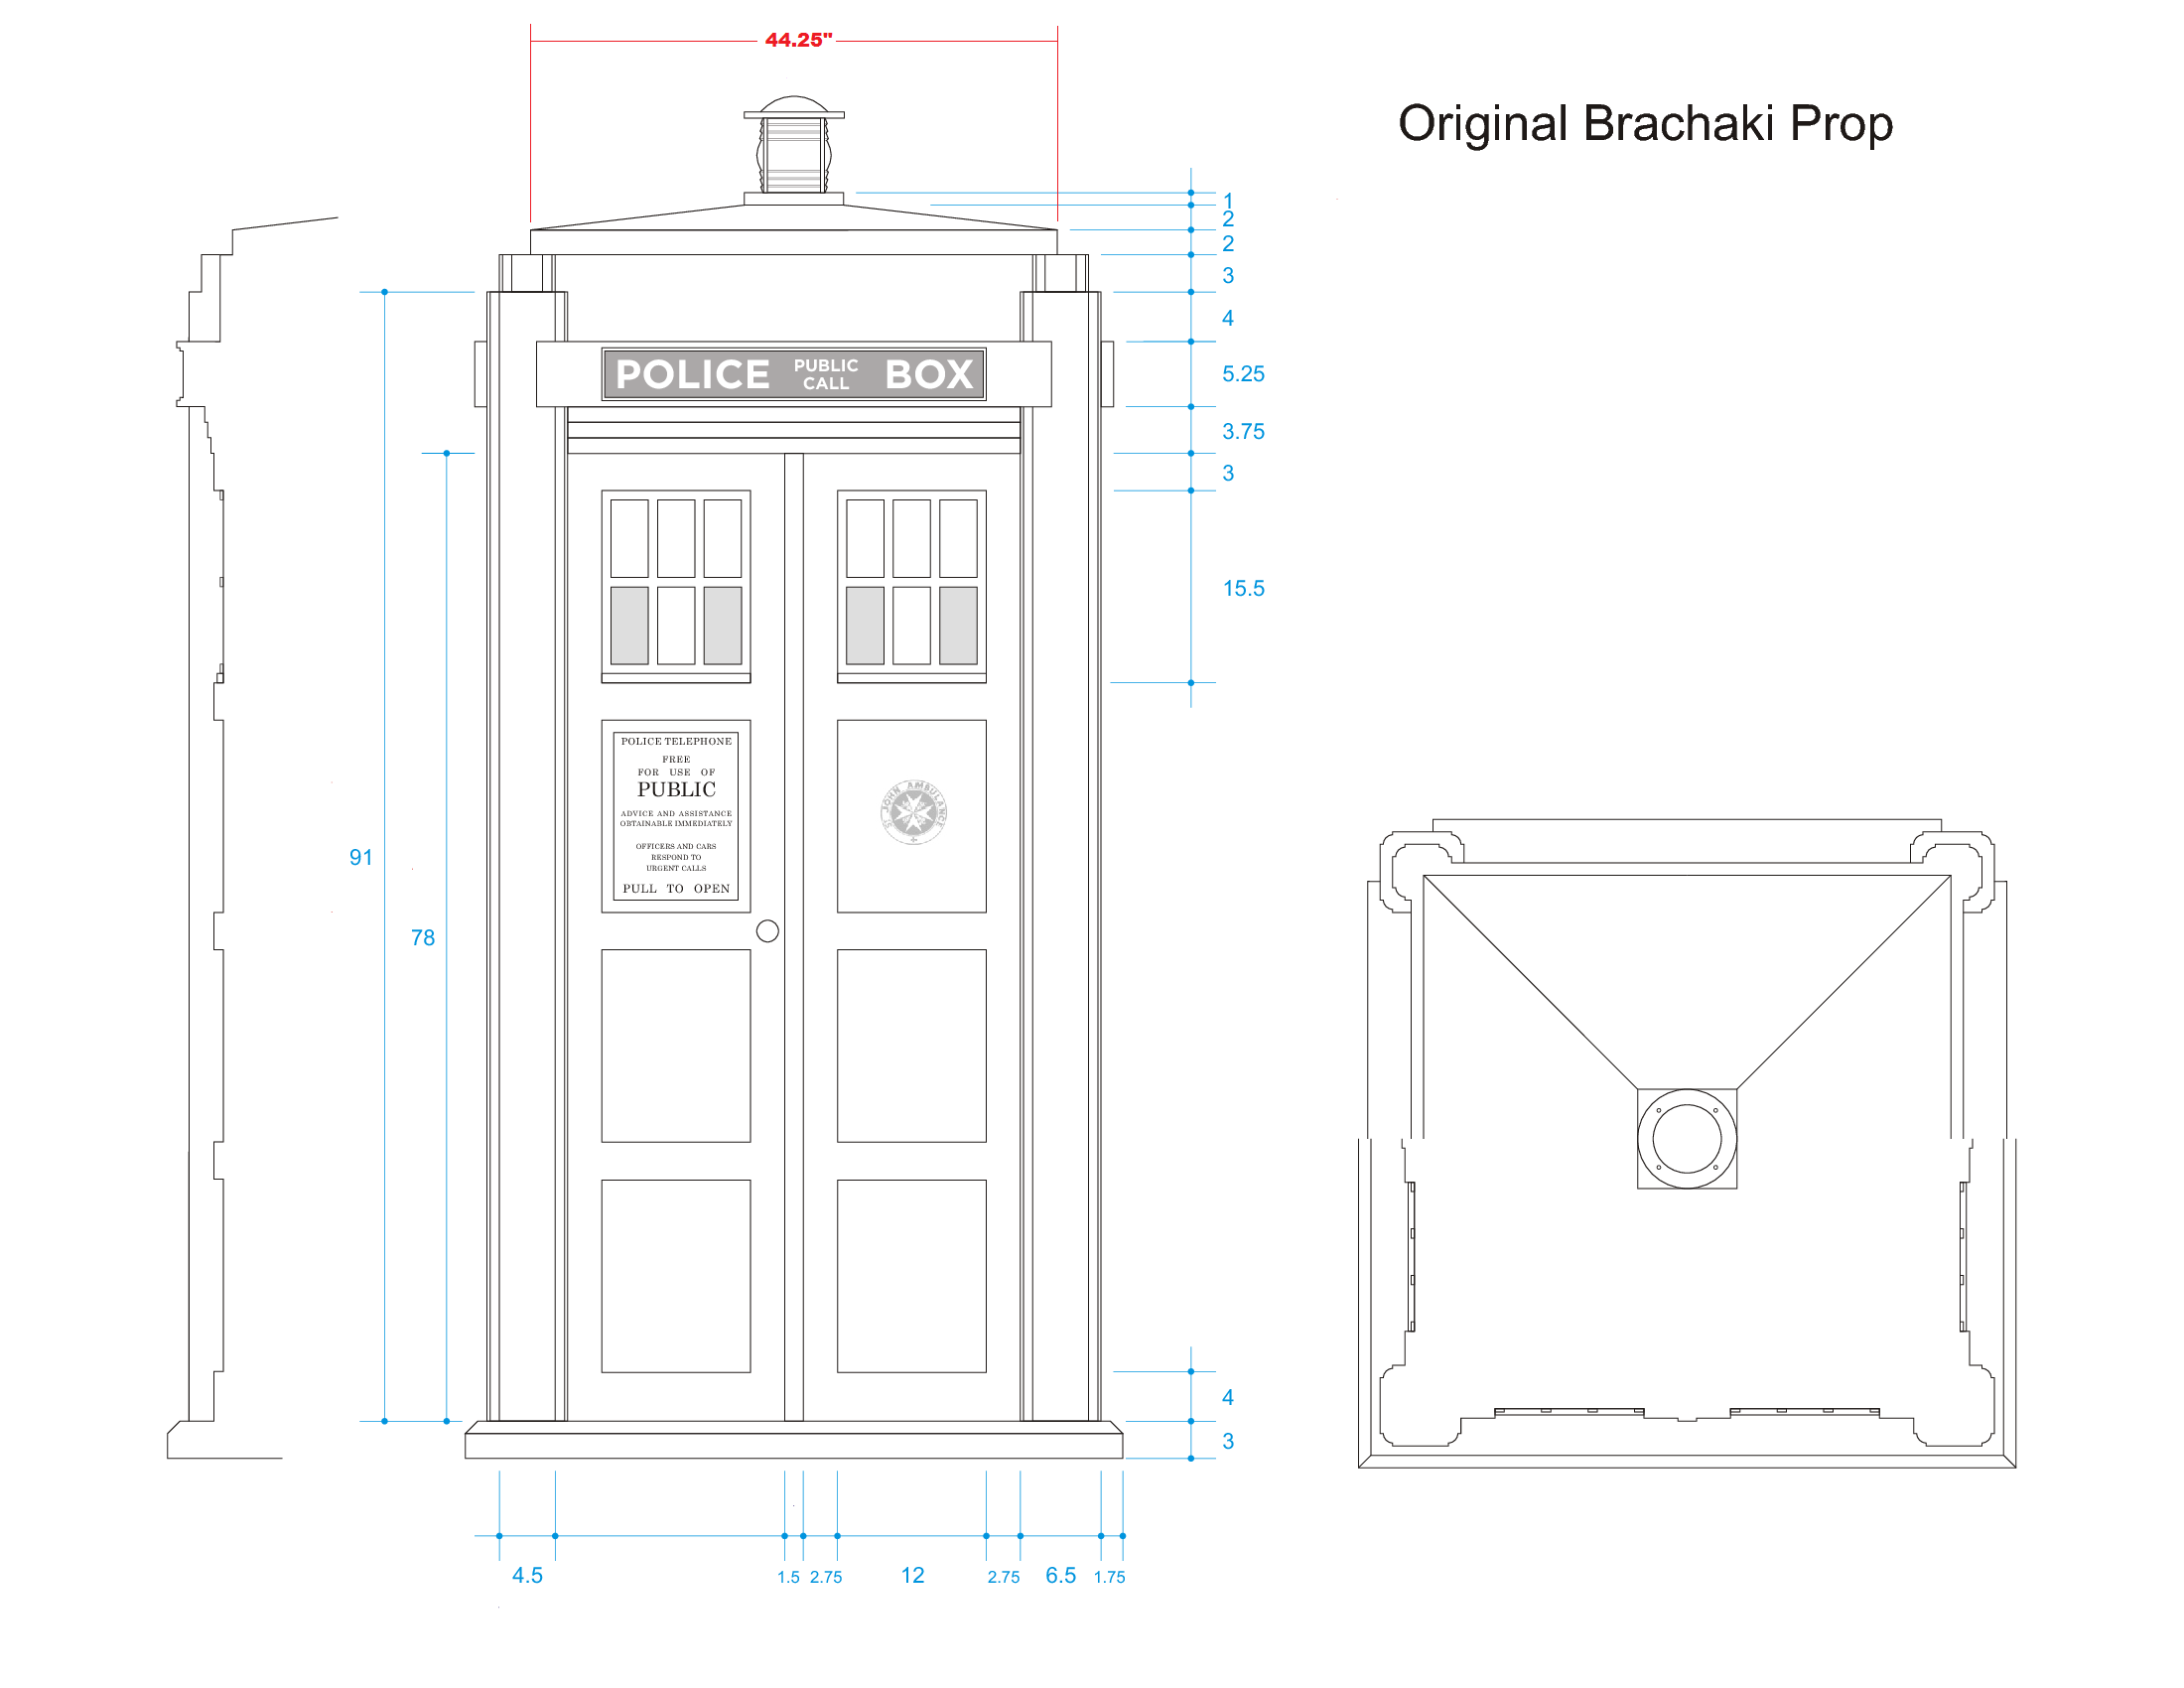
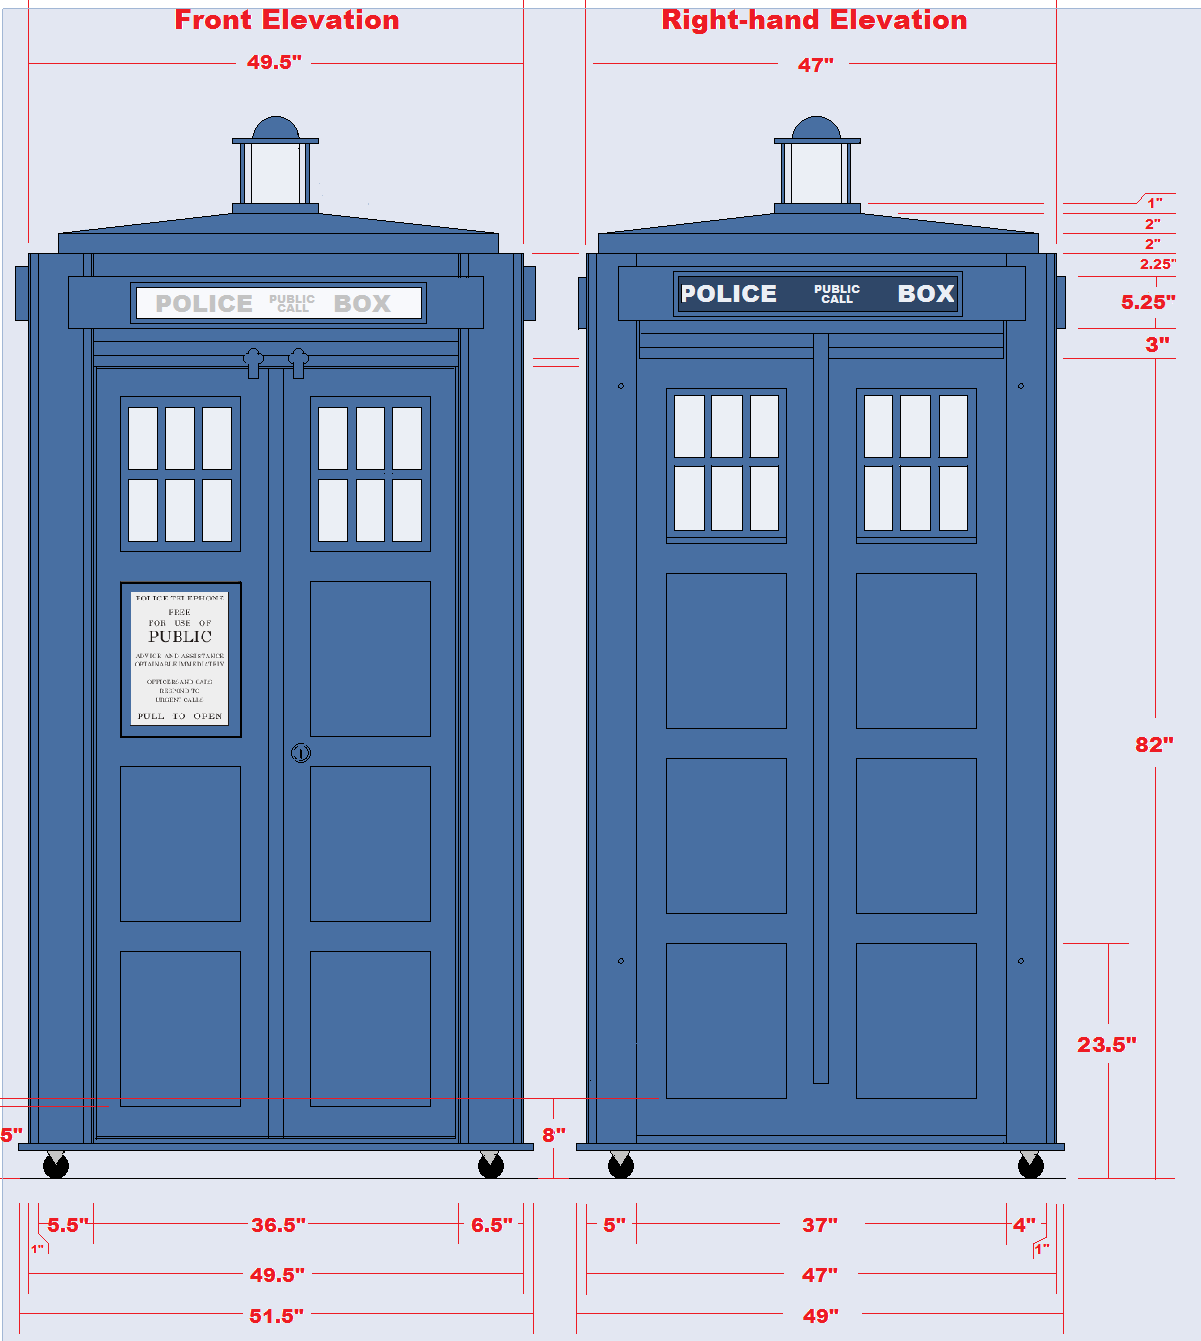
Essentially take the plan and scale it to 3/32" for every 1" on the plan then take some artistic license to get it looking about right. I also decided that I was going to mount mine on a post rather than hang it, so that caused a few changes too.
Cut
I started by cutting all the pieces to size from a small sheet of 3/16" plywood. There are four panels measuring 2 15/16" by 7 1/8" and a whole bunch of strips of 1/4" wide strips. You will need to cut 16 of the strips to 6 3/16" and the rest will be chopped into 40 pieces 13/16" long.

Walls
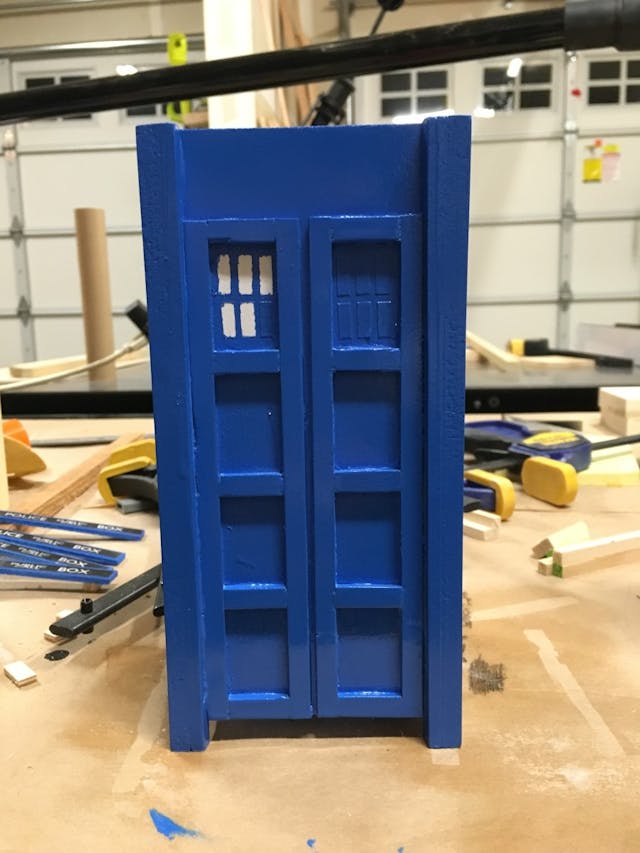
I then started gluing all the pieces onto the doors. Leave 3/32" gap on the left side, 3/32" in the middle and 1/8" on the right.

Spread out the smaller pieces so they are evenly spaced as below. I used one as a guide for the rest, save measuring – they just needed to all line up the same.
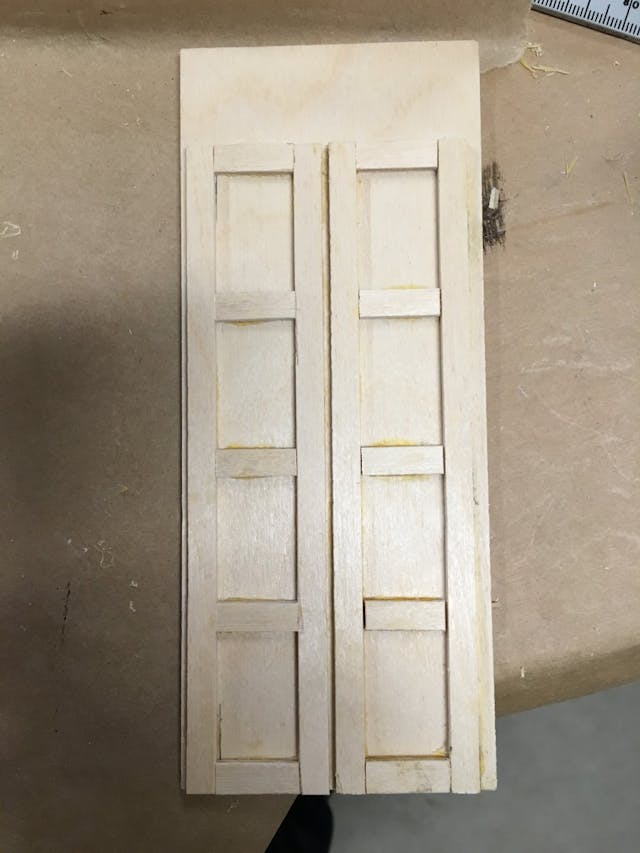
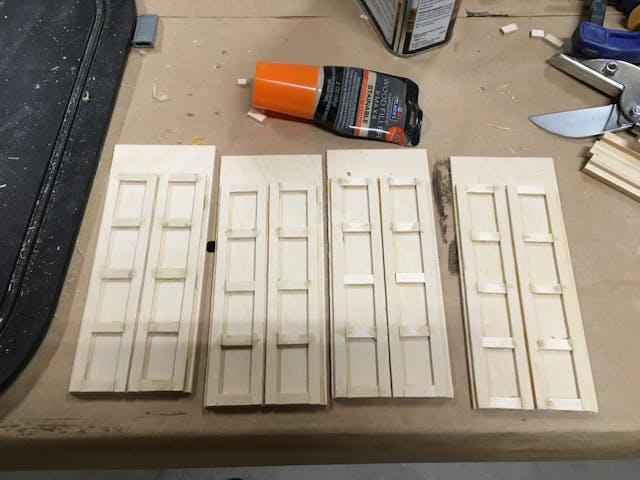
You should now have four door panels looking like this. At which point I used some wood filler to fill in any gaps between the pieces and gave the whole thing a good sanding.
Assembly
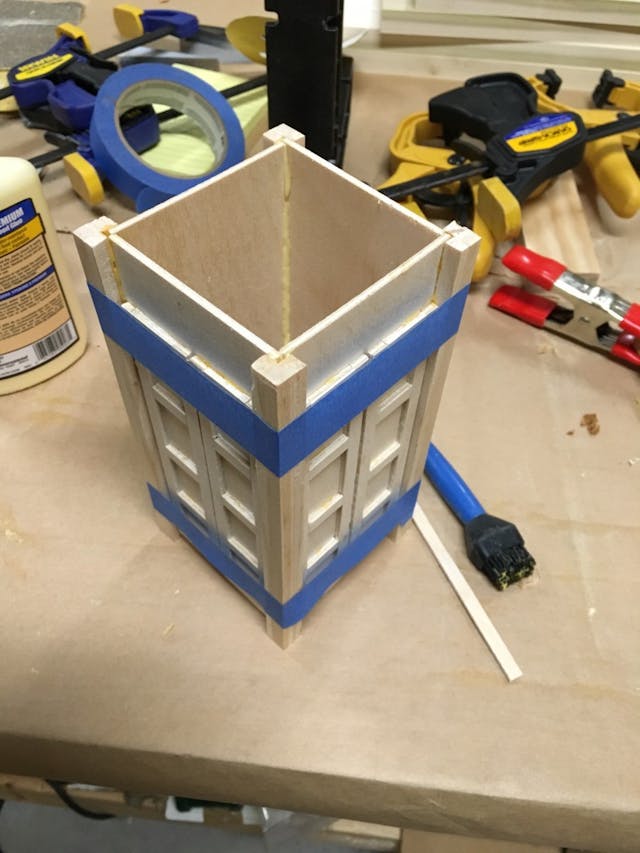
Next I took some 1/4" × 1/4" strips and glued three of them together lengthwise to form an L-shape which I then cut to 7 5/8" to form the side pillars for the doors (with a 1/2" gap at the bottom for the seed to come out).
I then glued each of the doors into the L-shaped side pillars and used some masking tape to hold all of them together until the glue dried.
Base
For the base I cut a 7 7/8" square piece from the same plywood. I then cut some thin strips of cedar scraps that I had laying around to form the edges of the base. I cut 45º miters on each end and glued them to the base.

Roof
For the roof I took a piece of 5/8" fence panel that I cut to be a bit larger than the assembled box and then sanded all four side at an angle to form a tapered look. Finally I took a piece of 1/2" dowel that I had laying around and cut a short piece 3/4" long to act as the light on the top. I then glued this to the middle of the roof.
Lastly, I took some left-over pieces of the 1/4" square strips that I used on the corners and cut them to form a square that fit just inside the sides of the walls and glued them to the underside of the roof. Make sure you take your time to get this right as you want the roof to fit snugly into the main box.
Paint
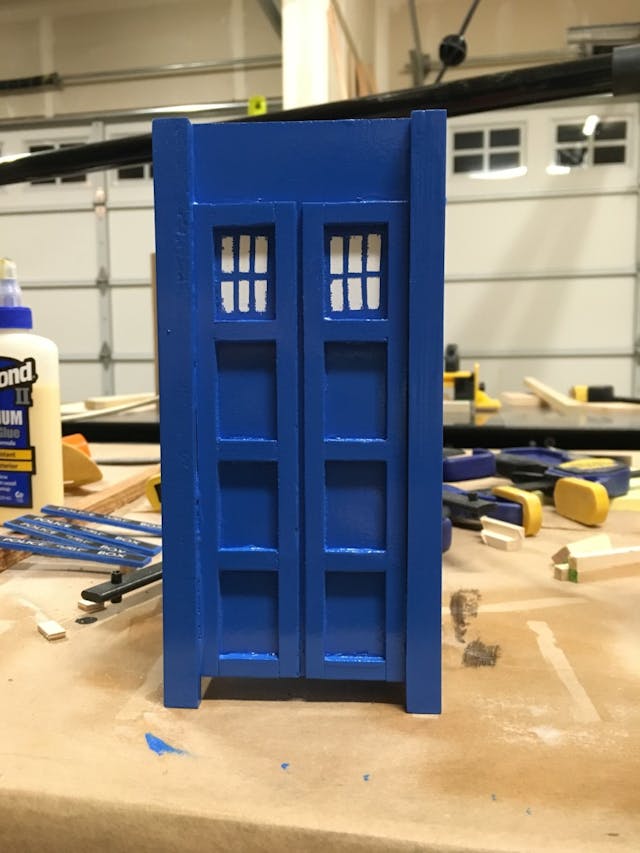
Once all the glue had dried I sprayed everything with a good coat of exterior grade primer. I used a white color primer as that is what I wanted to show through the windows in the top of each door.
In order to make the windows at the top of each door we want some of the white undercoat to show through, so after the primer has dried cut small pieces of blue painters tape and stick them in a 3×2 pattern in each of the top row segments. I made mine 3/16" by 7/16". For someone whole likes building big stuff, I cannot emphasize how much of a pain in the butt this part was!
I also wrapped a piece of tape around the light on the roof so there would be some white showing through.
I then proceeded to put a few coats of blue exterior spray paint on the whole thing.
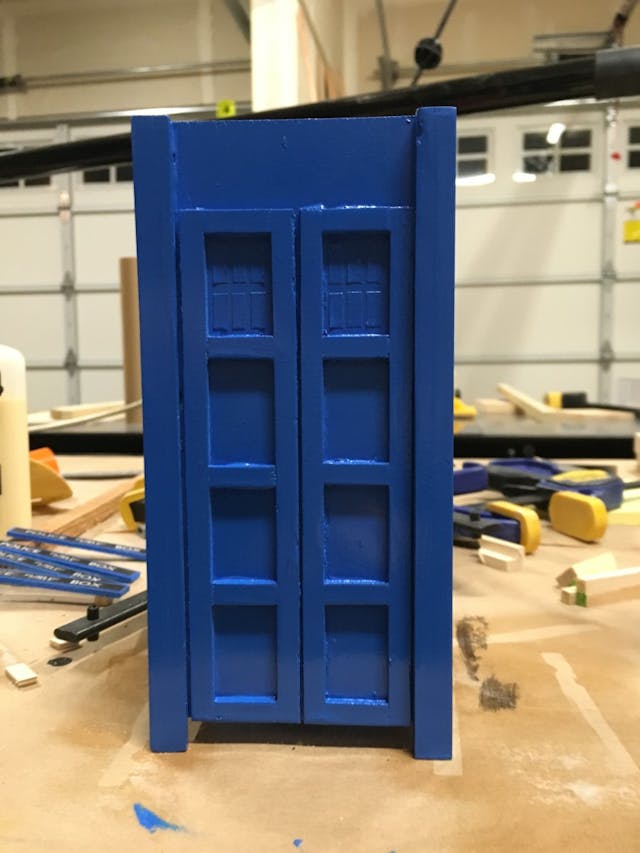
Once the paint had dried, I carefully peeled off each individual strip of tape to show the window panes.
Unfortunately some of the blue paint bled through the tape but it’s just a bird feeder so I tried not to let myself stress about it too much.
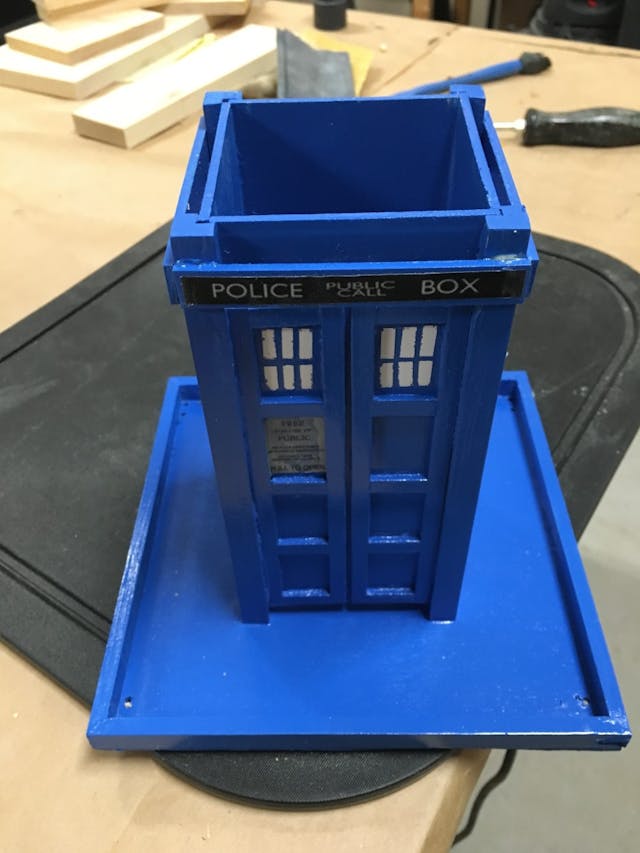
Signs


The signs above the doors are also made from the 1/4" strips we used for the door panels. They are 35/8" by 1/2". The black signs themselves are 31/2" by 3/8".
After gluing the signs on to the backer wood pieces, I sprayed a couple of waterproof clear coats to each of the signs to seal the paper in. I then attached each of the signs to the top of each side of the Tardis box.
Final Assembly
The last part is to attach the Tardis box to the base. Before doing so, however, I took a piece of scrap wood, cut it into a soft of pyramid shape and glued it into the middle of the base. Then I used some Instant Bond glue to stick the Tardis box to the base. I used this because I found that my regular wood glue was not sticking well to the paint.
All finished. Now stand back and admire!
TARDIS
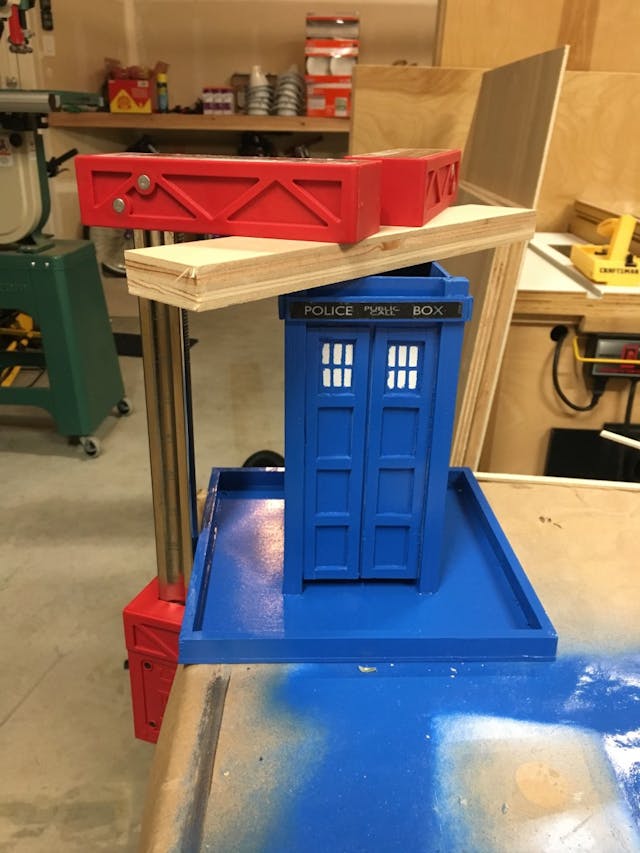
All that is left is to mount the bird feeder on a secure post and fill it with seed.
January 31, 2016 (10y ago)