Shoe Storage Bench
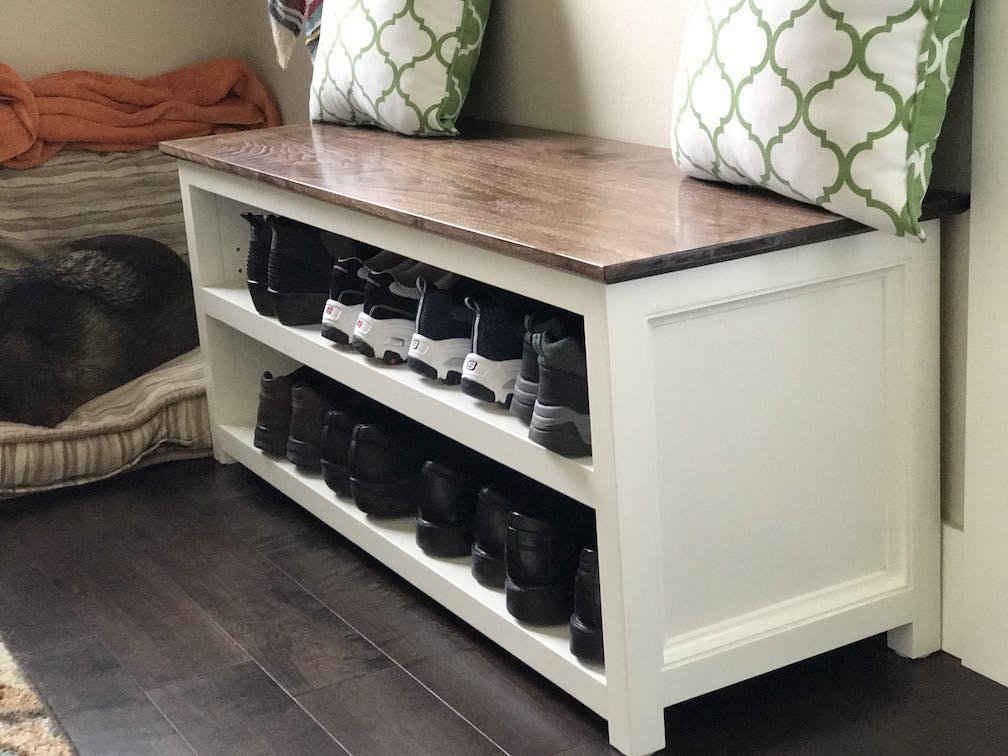
We have wanted a better system for storing our shoes for a long time. When I saw the shoe storage bench that Brad from FixThisBuildThat posted, I realized that it would look perfect in our front hallway. So, after a trip to the lumber yard where I picked up some gorgeous 4/4 rough cut walnut, I set about building what ended up as a perfect addition to our home. It is so well used, my wife wants me to make another one!
I decided that I was going to paint my bench white with a contrasting dark walnut top, so I went to our local hardwood store to see what I could find. I found some great looking walnut, some pine for the painted parts and also a gorgeous piece of 6/4 maple that I would use in another project.
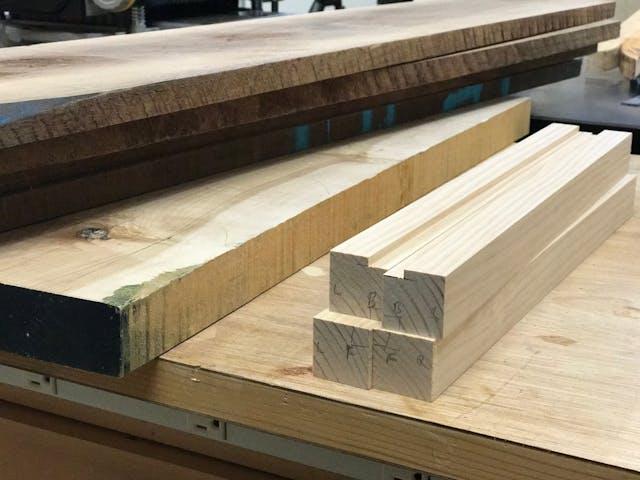
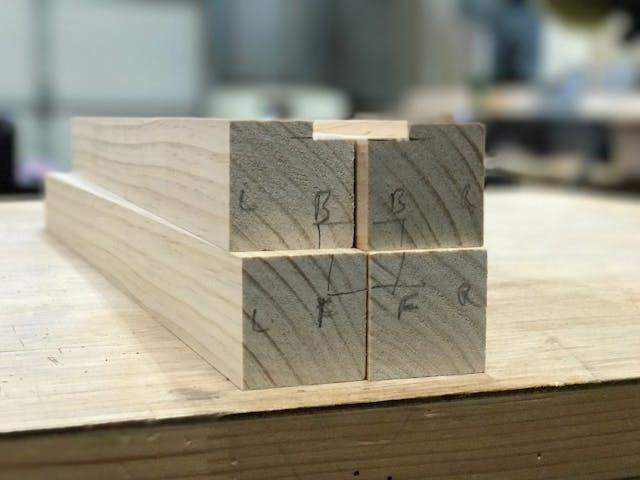
First, I cut the pine 2×2 legs to 18¼" then added a ¼" by ½" rabbet on the back of them for the back panel. I wanted to point out at this step, I always make sure every piece is well marked with the correct orientation on each side.
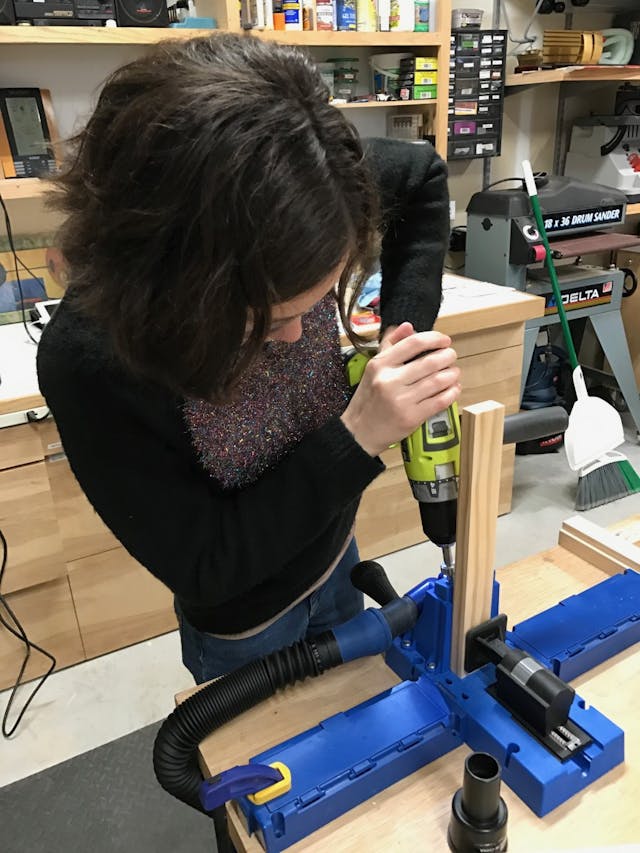
After cutting the rest of pieces to size, I prepped for all the pocket holes needed in this project. After drilling a few of them I decided to call in some reinforcements in the form of my then 12-year-old daughter. It was a good call. She had a blast drilling the holes and felt like she had a hand in building the end product. The Kreg K5 pocket hole jig was worth the money, in my opinion. It make the project easy.
Onto the assembly. This project goes together a lot easier than it looks because of the side panel design. Instead of having to cut dados in the legs and top and bottom rails, the plywood panels are simply pocket screwed to the legs and then the rails are glued on top and bottom.
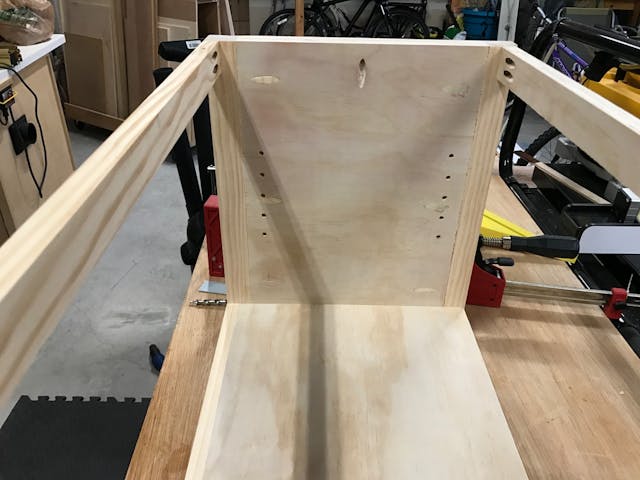
Since some of these pocket holes will be visible from the outside, I used a dowel to fill then and then cut them flush. Since the sides will be painted, this worked out great.
In order to spice up the sides I added some simple trim. It was amazing how this turned a plain looking side panel into something that looked a lot more professional.
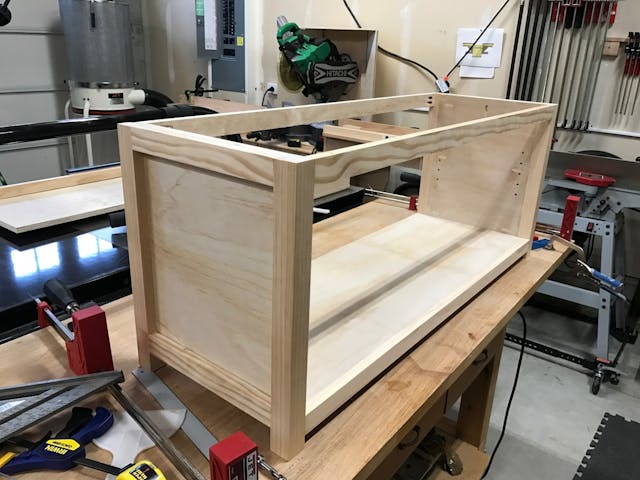
I built and tested out the shelf, but it must have had not been perfectly square because there was a tiny bit sticking out at one side but not the other. Oh well, no one has noticed.
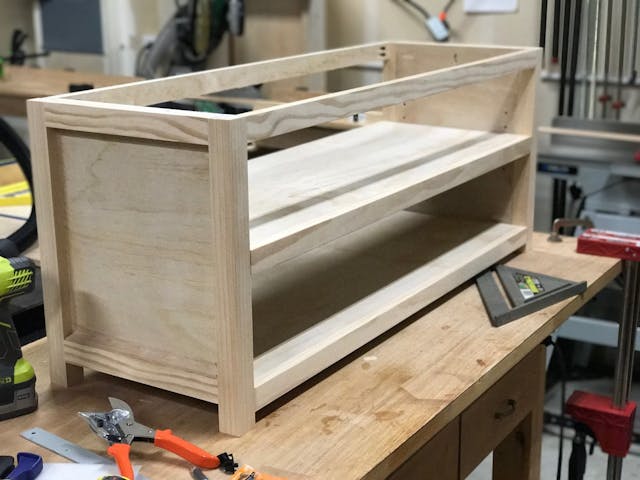
Now for the best bit of the project -- turning the rough cut walnut lumber into a beautiful top... for people to sit on when they put on their shoes.
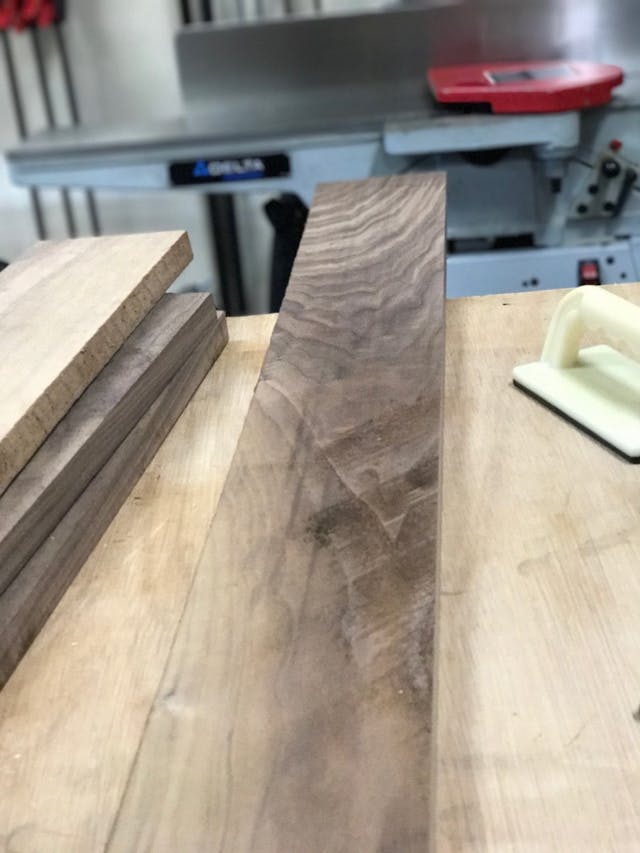
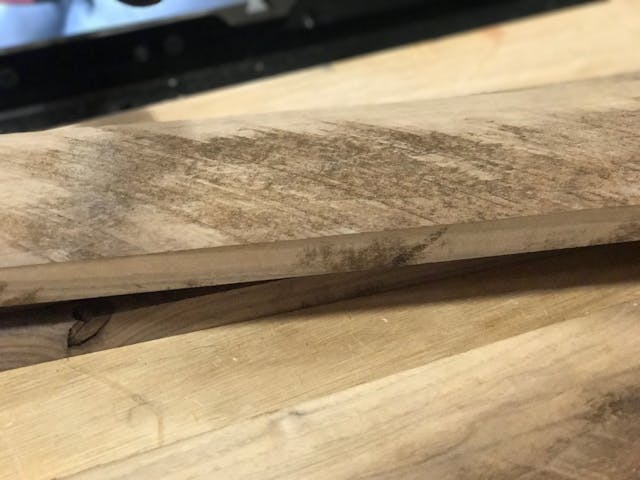
These pieces did not look all that great before they were milled, but I had a feeling they would reveal themselves to be worth of our hallway.

I cut the pieces to length and proceed to run them through the jointer and planer until I ended up with four good looking boards that fitted together nicely.
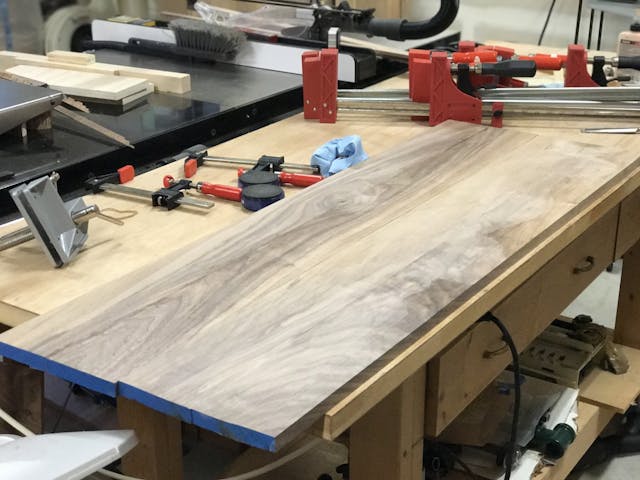
After glueing them up, I turned to my trusty card scraper to clean them up. I find this much better than using a sanders.
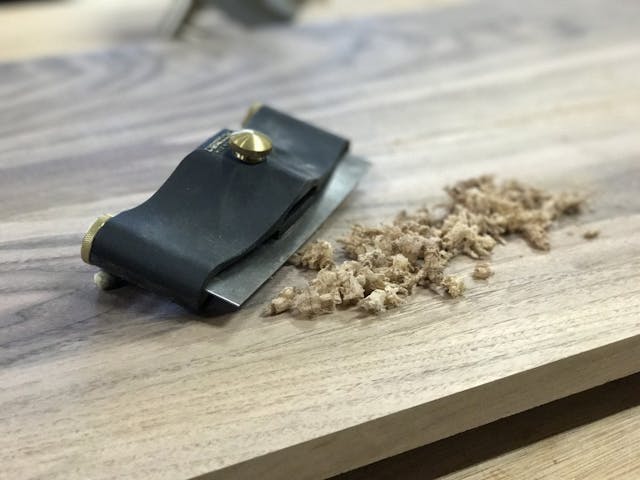
Wanna see something cool?
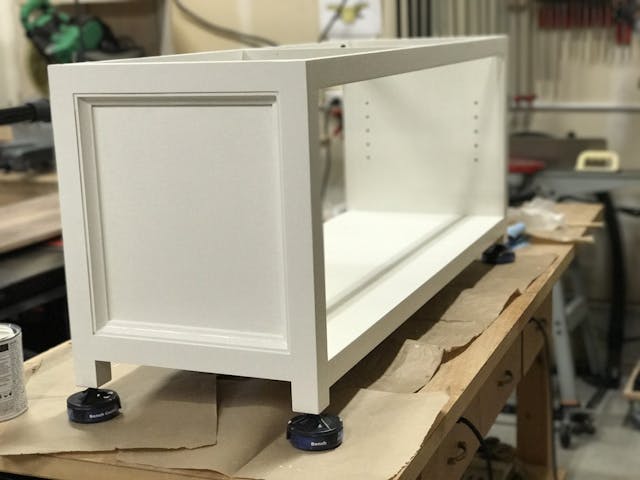
I decided to paint the base while I was working on the top and oh, boy, did it look good once I got a couple of coats of paint on it.
OK, back to the walnut top. Remember that difference in color between the heart wood and sap wood? Well I thought that I would try dying the wood instead of staining it. I had read that it made the grain pop better. So I bought some TransTint dye at my local Rockler and followed the instructions.
Big Mistake!!!!!!!
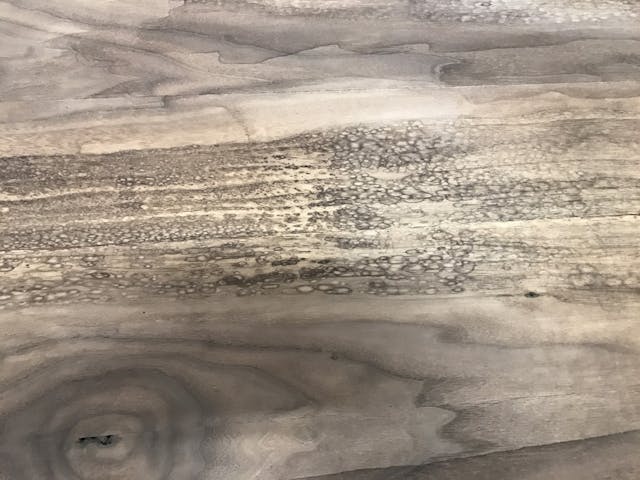
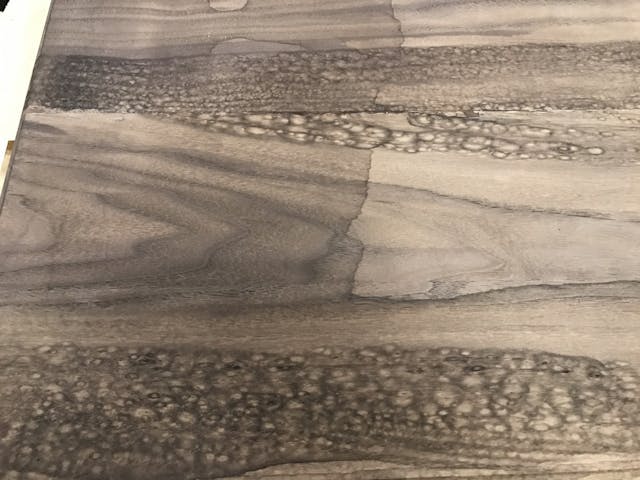
What did I do wrong? Well, it turns out that if you mix a dye with alcohol, the alcohol evaporates too quickly which leaves these blotchy patches on the wood surface.
The solution? Water.
Yes, believe or not (and as you can see, I didn't the first time) water is better than alcohol for this.
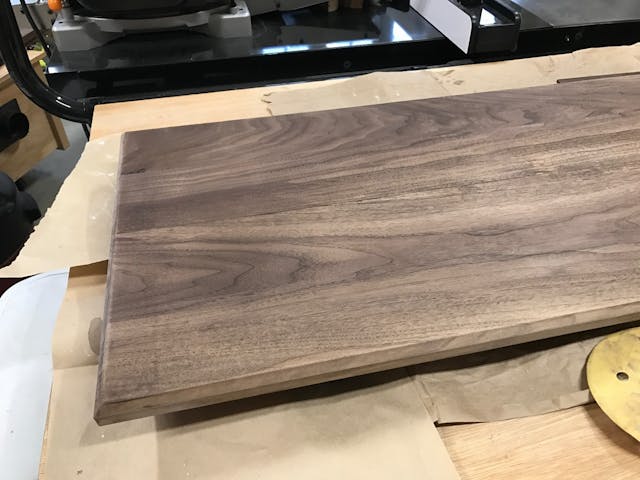
I sanded down the disaster and tried again using water as the solution for the dye. It came out so much better and did a decent job of evening out the wood colors.
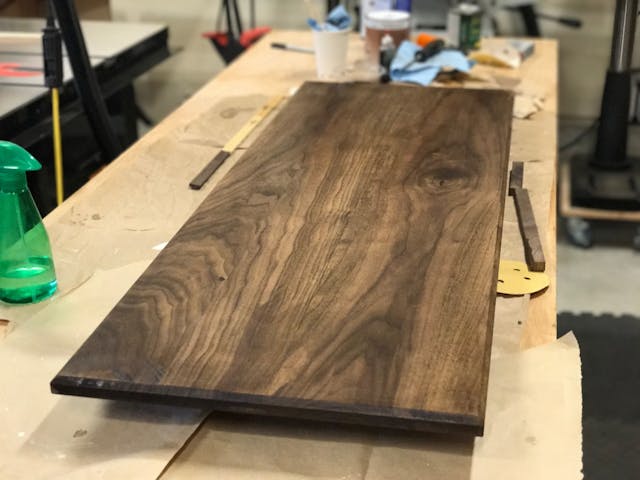
After sanding it smooth again I give the top a couple of coats or Arm-R-Seal semi-gloss to protect it from the abuse I know it would receive.
Put it all together and it looks fantastic. I attached the top using some screws, but I drilled the holed in the rail oversized to account for wood expansion.
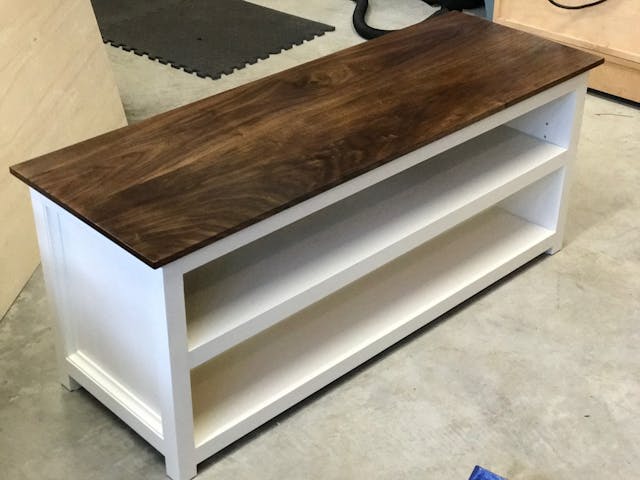
I'm pretty happy with the results. The only problem we have now is that we want one at the back door as well.
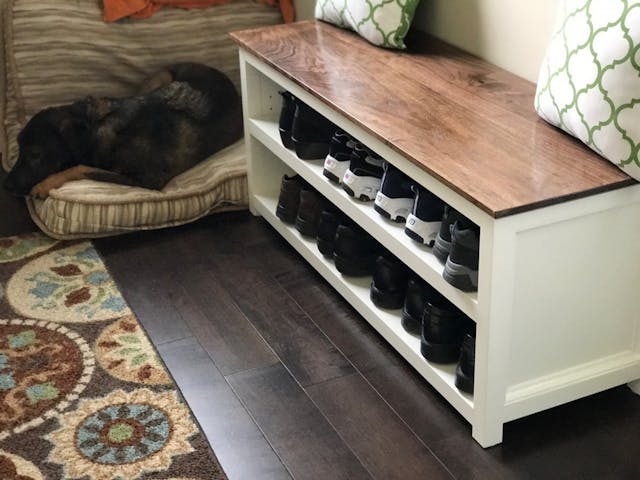
Tell me what you think…
September 15, 2018 (8y ago)